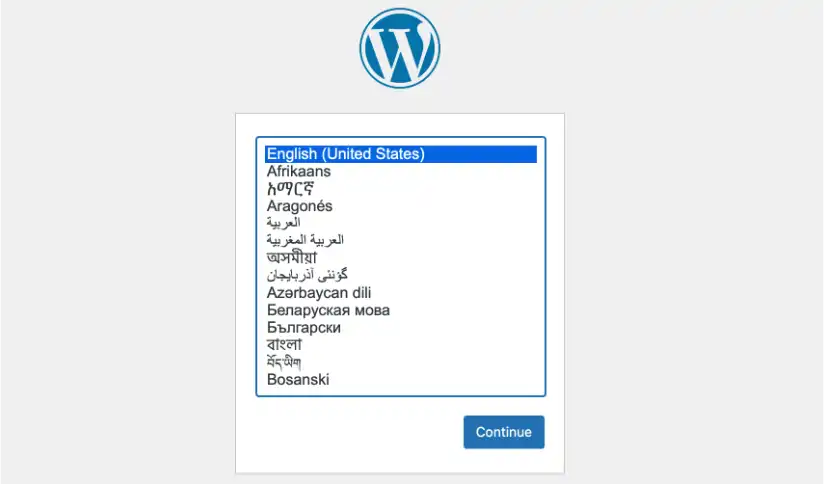
簡単にWordpressを動作可能
Proxmox VE Helper-Scripts をコピー&ペーストするだけで LXC の WordPress が動き出す。
これまでの苦労はなんだったんだ!(と、心の声)
Proxmox VE Helper-Scripts -> Webserver & Proxies -> WordPress(LXC)
Debian12 2vCPU Memory 2GB Disk 5GB Port 80
WordPress is the simplest, most popular way to create your own website or blog. In fact, WordPress powers over 43.6% of all the websites on the Internet. Yes – more than one in four websites that you visit are likely powered by WordPress. On a slightly more technical level, WordPress is an open-source content management system licensed under GPLv2, which means that anyone can use or modify the WordPress software for free.
WordPressは、ウェブサイトやブログを作成する最もシンプルで人気の高い方法です。実際、インターネット上のウェブサイトの43.6%以上がWordPressで運営されています。つまり、あなたが訪れるウェブサイトの4分の1以上はWordPressで運営されている可能性が高いのです。もう少し技術的な観点から説明すると、WordPressはGPLv2ライセンスに基づくオープンソースのコンテンツ管理システムです。つまり、誰でも無料でWordPressソフトウェアを使用または改変できるということです。Proxmox VE Helper-Scripts
How to install のところにある コピーボタンをクリックしてスクリプトをコピーして
bash -c "$(curl -fsSL https://raw.githubusercontent.com/community-scripts/ProxmoxVE/main/ct/wordpress.sh)"
Proxmox VE のノードの [ >_Shell ]
root@node1:~# bash -c “$(curl -fsSL https://raw.githubusercontent.com/community-scripts/ProxmoxVE/main/ct/wordpress.sh)”
で wordpress on debian LXC がインストールされる。
WordPress LXC
Proxmox VE の node1 の シェル( >_shell)には、debian ベースLAMPの wordpress がインストールされました。
※ LAMP とは、Linux Apache Mysql ( Mariadb ) php のことを指す。
					| |     / /___  _________/ /___  ________  __________
| | /| / / __ \/ ___/ __  / __ \/ ___/ _ \/ ___/ ___/
| |/ |/ / /_/ / /  / /_/ / /_/ / /  /  __(__  |__  )
|__/|__/\____/_/   \__,_/ .___/_/   \___/____/____/
                       /_/
  ⚙️  Using Default Settings on node node1
  🖥️  Operating System: debian
  🌟  Version: 12
  📦  Container Type: Unprivileged
  💾  Disk Size: 5 GB
  🧠  CPU Cores: 2
  🛠️  RAM Size: 2048 MiB
  🆔  Container ID: 100
  🚀  Creating a WordPress LXC using the above default settings

  ✔️  Using local for Template Storage.
  ✔️  Using local-lvm for Container Storage.
  ✔️  Updated LXC Template List
  ✔️  LXC Template is ready to use.
  ✔️  LXC Container 100 was successfully created.
  ✔️   Started LXC Container
  ✔️  Set up Container OS
  ✔️  Network Connected: 192.168.10.100
  ✔️  IPv4 Internet Connected
  ✖️  IPv6 Internet Not Connected
  ✔️  DNS Resolved github.com to 20.27.177.113
  ✔️  Updated Container OS
  ✔️  Core dependencies installed
  ✔️  Installed Dependencies
  ✔️  Set up Database
  ✔️  Installed WordPress
  ✔️  Created Services
  ✔️  Customized Container
  ✔️  Cleaned
  ✔️   Completed Successfully!

  🚀   WordPress setup has been successfully initialized!
  💡   Access it using the following URL:
    🌐  http://192.168.10.100/
root@node1:~#
仮想ハードウエアのパラメーターを変更する時は、[SETTINGS]で 3 Advanced Settingw を選択する。
Default Settings は、最小限のハードウエアのよう。
後から変更は可能だが、

新しくできたコンテナ
ノードにコンテナ WordPress が追加された。
コンテナの
>_Console をクリックすると、
					Debian GNU/Linux 12 wordpress tty1

wordpress login:
Debian GNU/Linux 12 wordpress tty1

wordpress login: root (automatic login)


The programs included with the Debian GNU/Linux system are free software;
the exact distribution terms for each program are described in the
individual files in /usr/share/doc/*/copyright.

Debian GNU/Linux comes with ABSOLUTELY NO WARRANTY, to the extent
permitted by applicable law.

Wordpress LXC Container
    🌐   Provided by: community-scripts ORG | GitHub: https://github.com/community-scripts/ProxmoxVE

    🖥️   OS: Debian GNU/Linux - Version: 12
    🏠   Hostname: wordpress
    💡   IP Address: 192.168.10.100
root@wordpress:~#
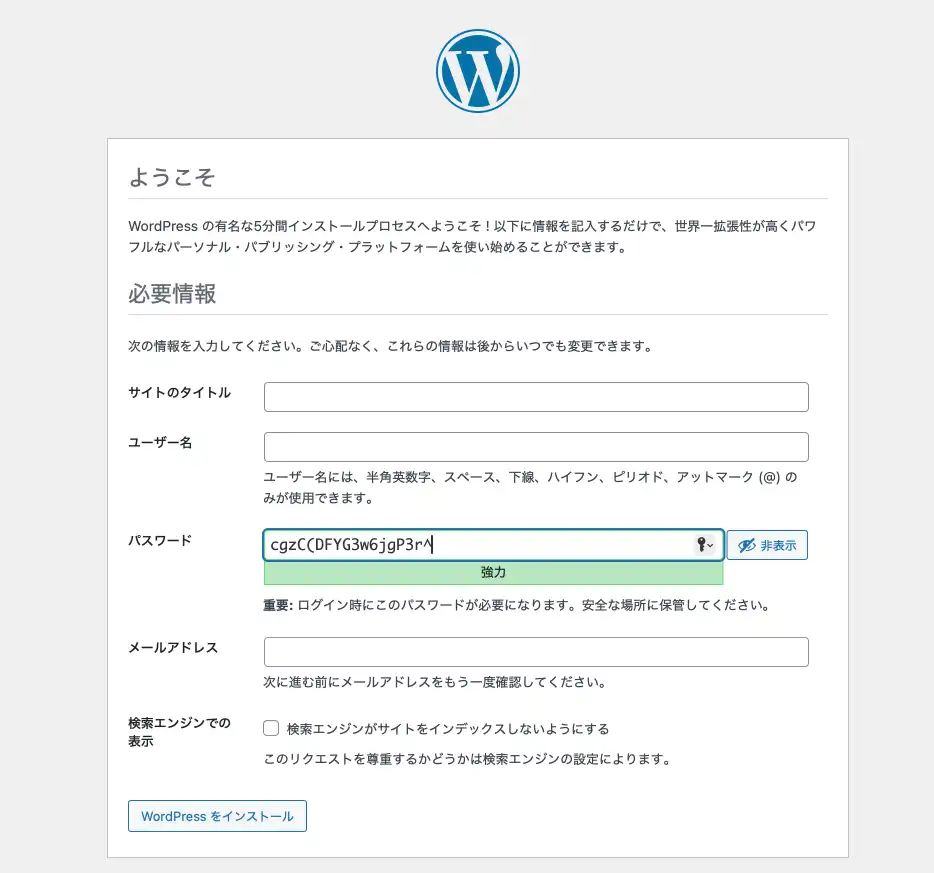
WordPress インストール画面
ドメイン名やSSL認証が必要なければ、GUI のWEBブラウザのある端末から
http://IPアドレス
で、Wordpress の設定画面が表示される。
データベースのユーザーやパスワード、データベース名は、既に設定済みだ。
と、とても簡単に OS から、その他のサーバーソフトや WordPress までインストールされる。
データベースのユーザーやパスワード、データベースの作成までスクリプトに含まれているのだ。
実際の運用だと、自分で変更した方が良いかもしれないが、プロキシを置いて、バックエンドに使用するWEBサーバーならば、このまま運用も可能かもしれない。
簡単な性能評価
デフォルトのセッティングで、サーバーのCPUが Intel N100 4core 3.4GHz だとどのくらいの性能か
100 アクセスが同時に来たら、処理が完了するのに2秒程度必要、
1アクセスならば、23msecくらいなので、個人で使用する簡素なWEBサーバーならば、実用上全く問題はない。
					# ab -n100 -c100 http://192.168.10.100/

This is ApacheBench, Version 2.3 <$Revision: 1913912 $>
Copyright 1996 Adam Twiss, Zeus Technology Ltd, http://www.zeustech.net/
Licensed to The Apache Software Foundation, http://www.apache.org/

Benchmarking 192.168.10.100 (be patient).....done


Server Software:        Apache/2.4.62
Server Hostname:        192.168.10.100
Server Port:            80

Document Path:          /
Document Length:        50292 bytes

Concurrency Level:      100
Time taken for tests:   2.261 seconds
Complete requests:      100
Failed requests:        0
Total transferred:      5053600 bytes
HTML transferred:       5029200 bytes
Requests per second:    44.23 [#/sec] (mean)
Time per request:       2260.961 [ms] (mean)
Time per request:       22.610 [ms] (mean, across all concurrent requests)
Transfer rate:          2182.77 [Kbytes/sec] received

Connection Times (ms)
              min  mean[+/-sd] median   max
Connect:        0    1   0.4      1       2
Processing:    47 1207 649.7   1194    2213
Waiting:       44 1197 649.9   1183    2212
Total:         48 1209 649.3   1195    2214

Percentage of the requests served within a certain time (ms)
  50%   1195
  66%   1625
  75%   1784
  80%   1923
  90%   2164
  95%   2182
  98%   2207
  99%   2214
 100%   2214 (longest request)
モジュールの追加
実際にWEBサーバーとして運用するには、URLをドメイン名にすること、
そのドメイン名の認証でhttpsにすること、
が必要ですが、
WordPress のダッシュボード -> ツール -> サイトヘルス
で「一つ以上の推奨モジュールが存在しません」と指摘されていました。
– オプションのモジュール imagick がインストールされていないか、無効化されています。
– オプションのモジュール intl がインストールされていないか、無効化されています。
追加でインストールします
					# apt install php-imagick
# apt install php-intl
# systemctl restart apache2