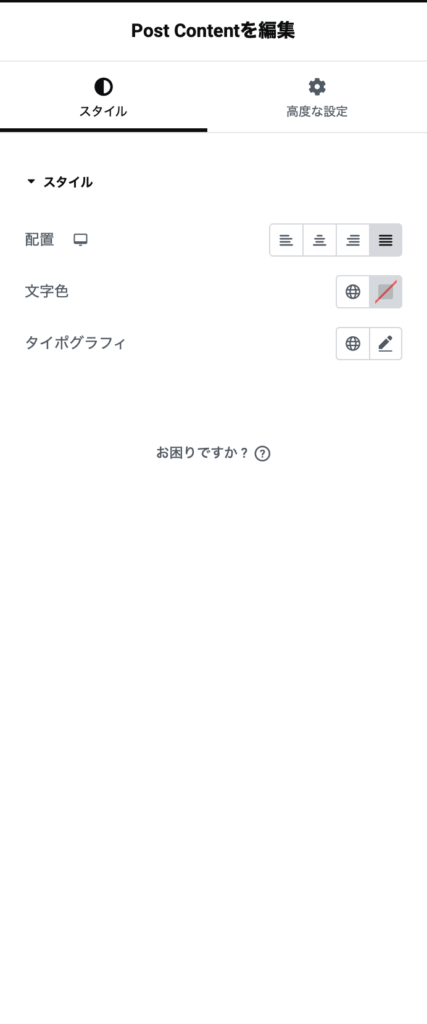
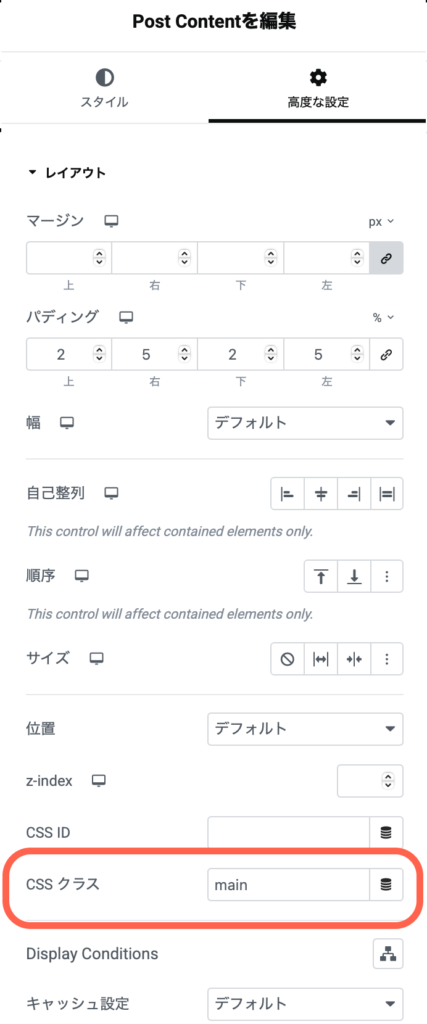
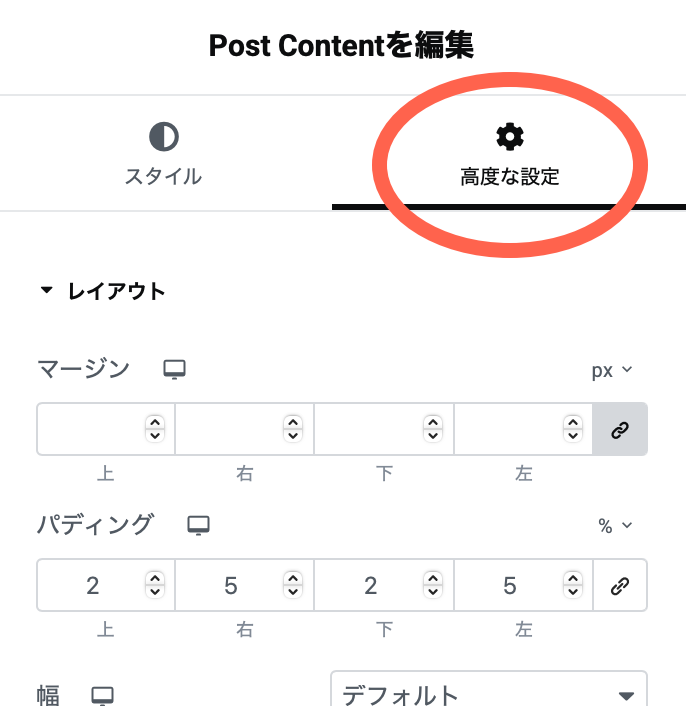
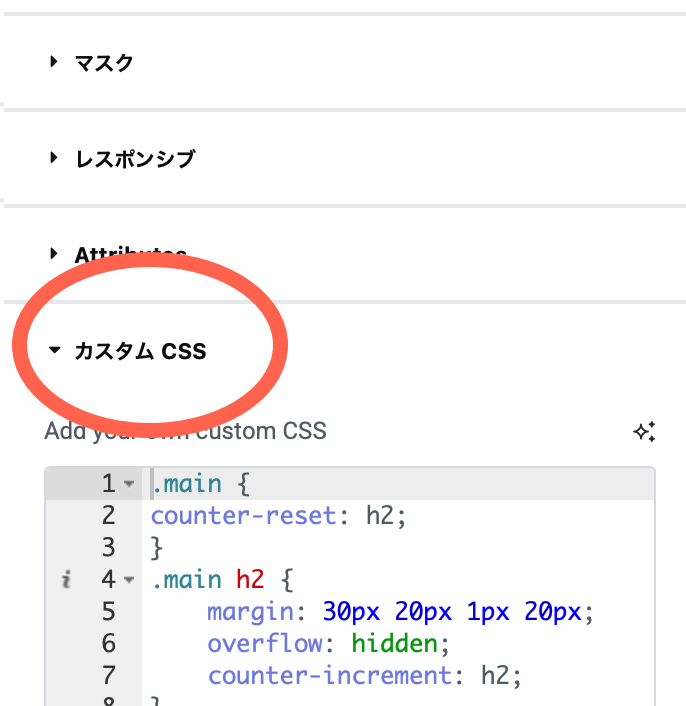

見出しの文字飾りをpost Content のカスタムCSSで設定して一度おけば、便利です。

プロキシ側 Nginx location / {
WordPress + Elementor Multisite でNginx の worker 設定を適切にすると 同時接続処理能力が大きく向上します。
WordPress + Elementor MultisiteをサーバーCPU 8コア / RAM 約10GB /で運用する場合、PHP-FPM 8.4 の設定を最適化しよう。

Nginx Fastcgi-cacheが動作しているにも関わらず、Wordpress ツール/サイトヘルスで「ページキャッシュが検出できない」と表示される。
Wordpressのマルチサイトをサブドメインで構築するのは便利である。だが、シングルサイトからマルチサイトに移行するのは、少々厄介だ。Elementor対応。

TASK Update package database Error:command apt-get Updateでエラー発生

プロキシ側 Nginx location / {
WordPress + Elementor Multisite でNginx の worker 設定を適切にすると 同時接続処理能力が大きく向上します。
WordPress + Elementor MultisiteをサーバーCPU 8コア / RAM 約10GB /で運用する場合、PHP-FPM 8.4 の設定を最適化しよう。
Nginx Fastcgi-cacheが動作しているにも関わらず、Wordpress ツール/サイトヘルスで「ページキャッシュが検出できない」と表示される。
Wordpressのマルチサイトをサブドメインで構築するのは便利である。だが、シングルサイトからマルチサイトに移行するのは、少々厄介だ。Elementor対応。
TASK Update package database Error:command apt-get Updateでエラー発生